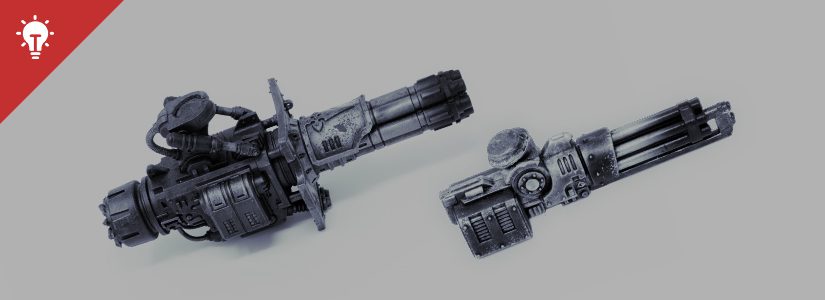
Jason’s back with another tutorial for adding quick details to your finished miniatures. Today he wants to share how he airbrushes heat bloom effects onto his miniature’s weapons . . .
Looking to add a realistic effect to your gatling cannons and melta guns? I thought I’d take a quick look at how I airbrush the heated up barrels to some of my weapons.
Materials
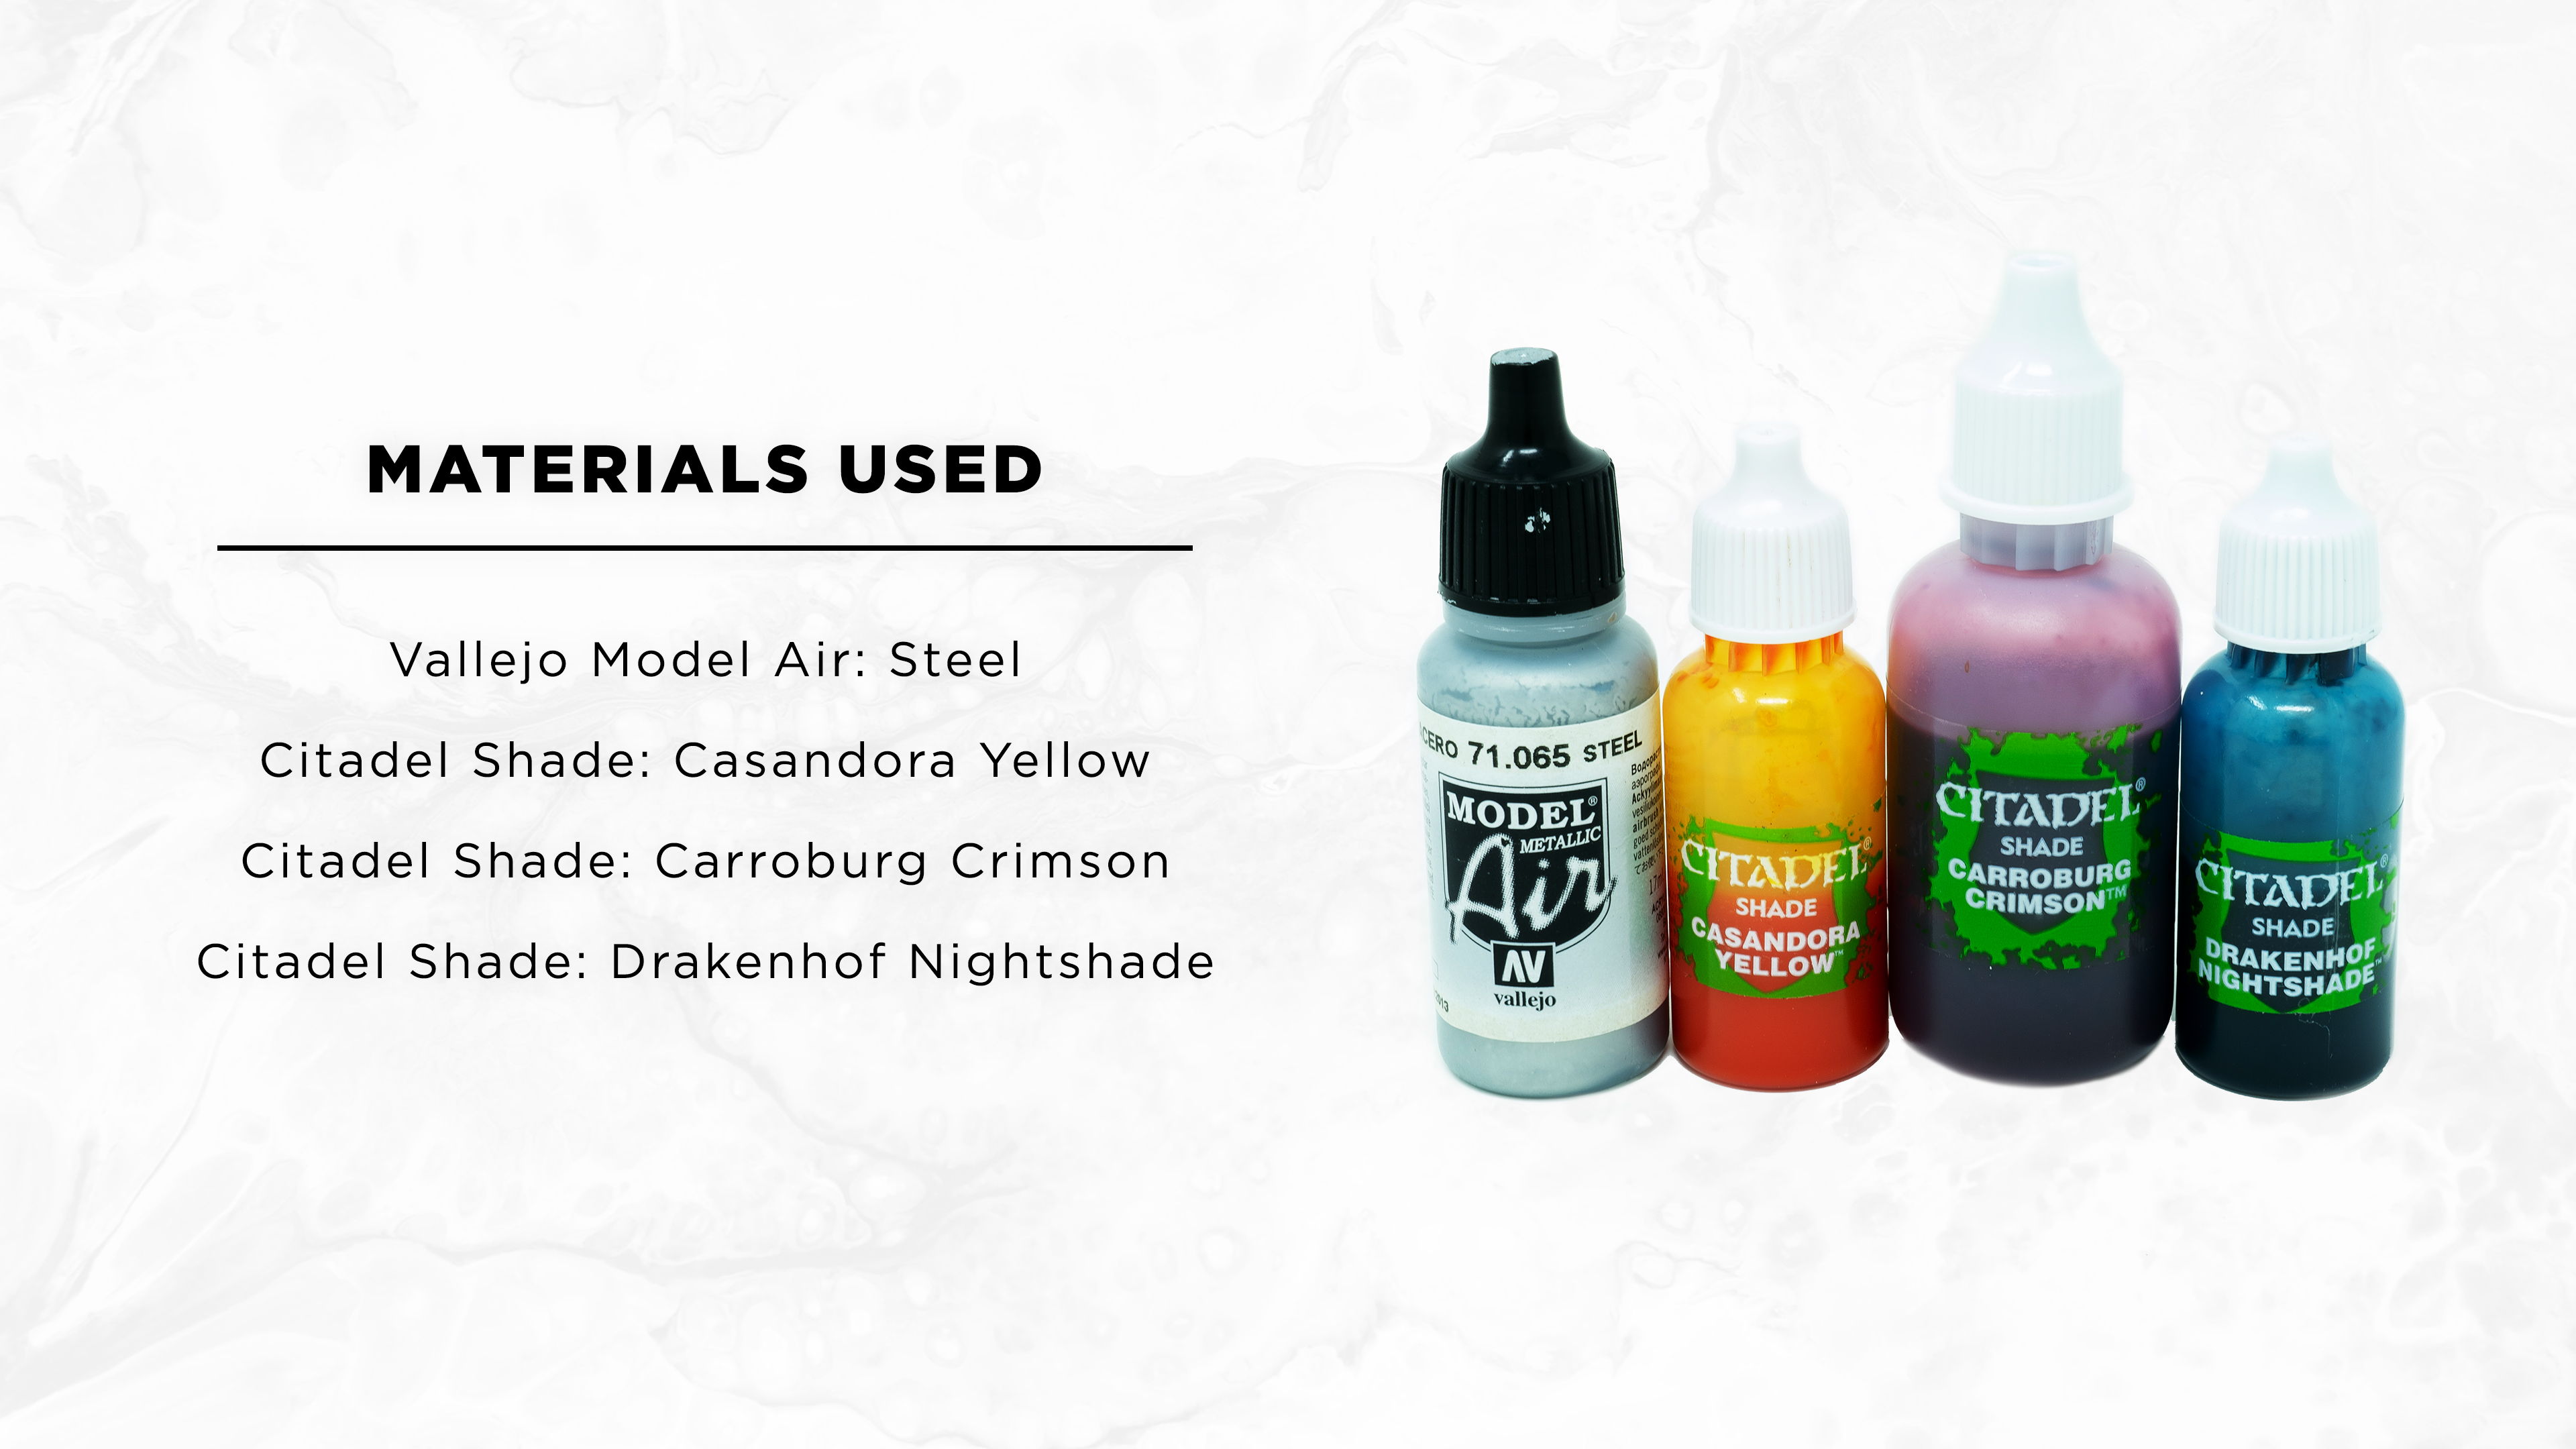
Here are a few of the materials I use:
– Iwata Eclipse Airbrush
– Metallic paint of your choice (I’m using Vallejo Model Air Steel)
– Citadel Shades: Casandora Yellow, Carroburg Crimson and Drakenhof Nightshade
Painting the Effect
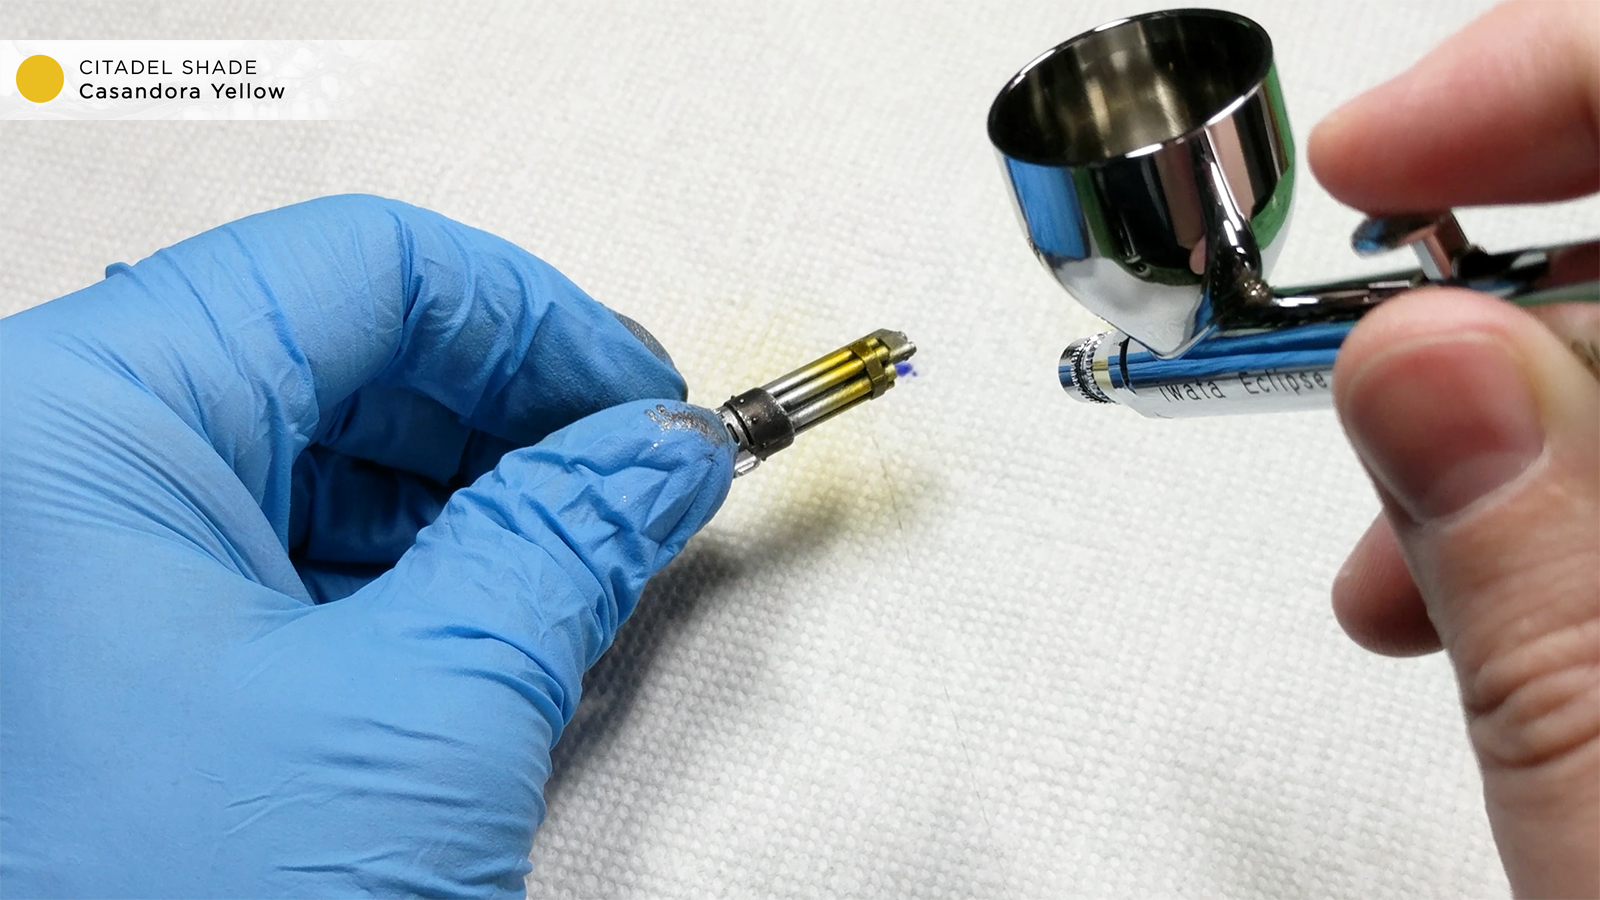
Step 1 – Casandora Yellow
Here I have a cannon from a Contemptor Dreadnought, already based with some Vallejo Model Air Steel. Working with REALLY thin layers, build up the Yellow from the tip of the gun to about halfway down the barrel.
The shades are really thin and don’t need much air to get going. I usually run my compressor around 20psi (or lower) and try to be gentle with the trigger.
Let this dry for a few minutes before working on the next color
Step 2 – Carroburg Crimson
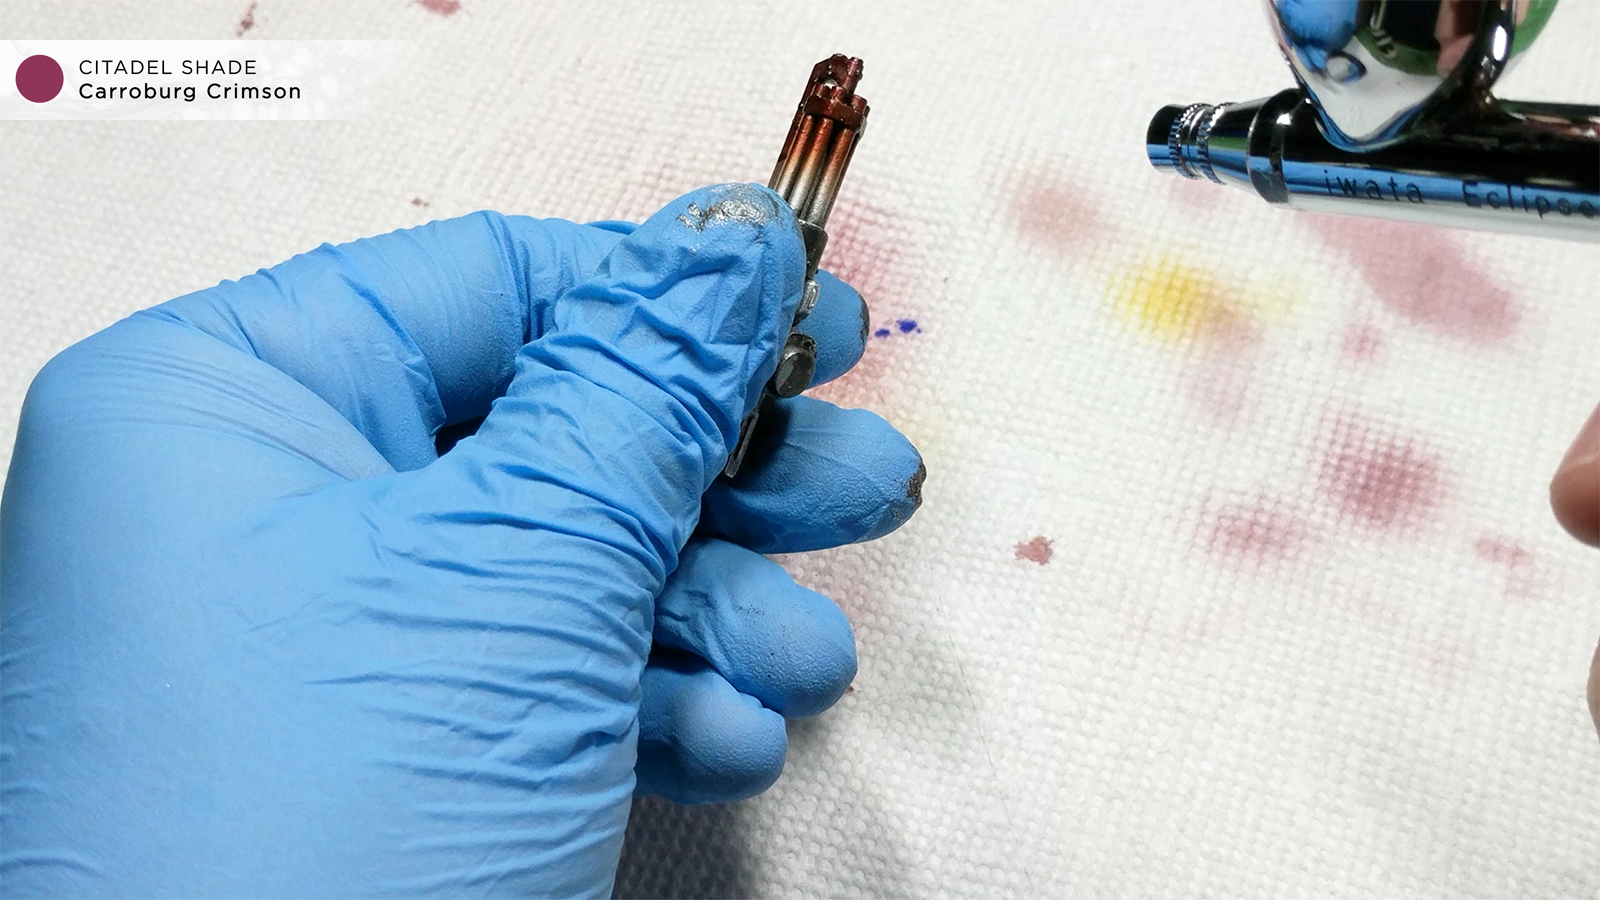
Make sure your airbrush is dried out and add a few drops of Crimson (a little goes a long way for each of these steps). You’ll want to follow the same process as before but cover about 3/4 of the yellow, leaving a bit exposed near the middle of the barrel.
Step 3 – Drakenhof Nightshade
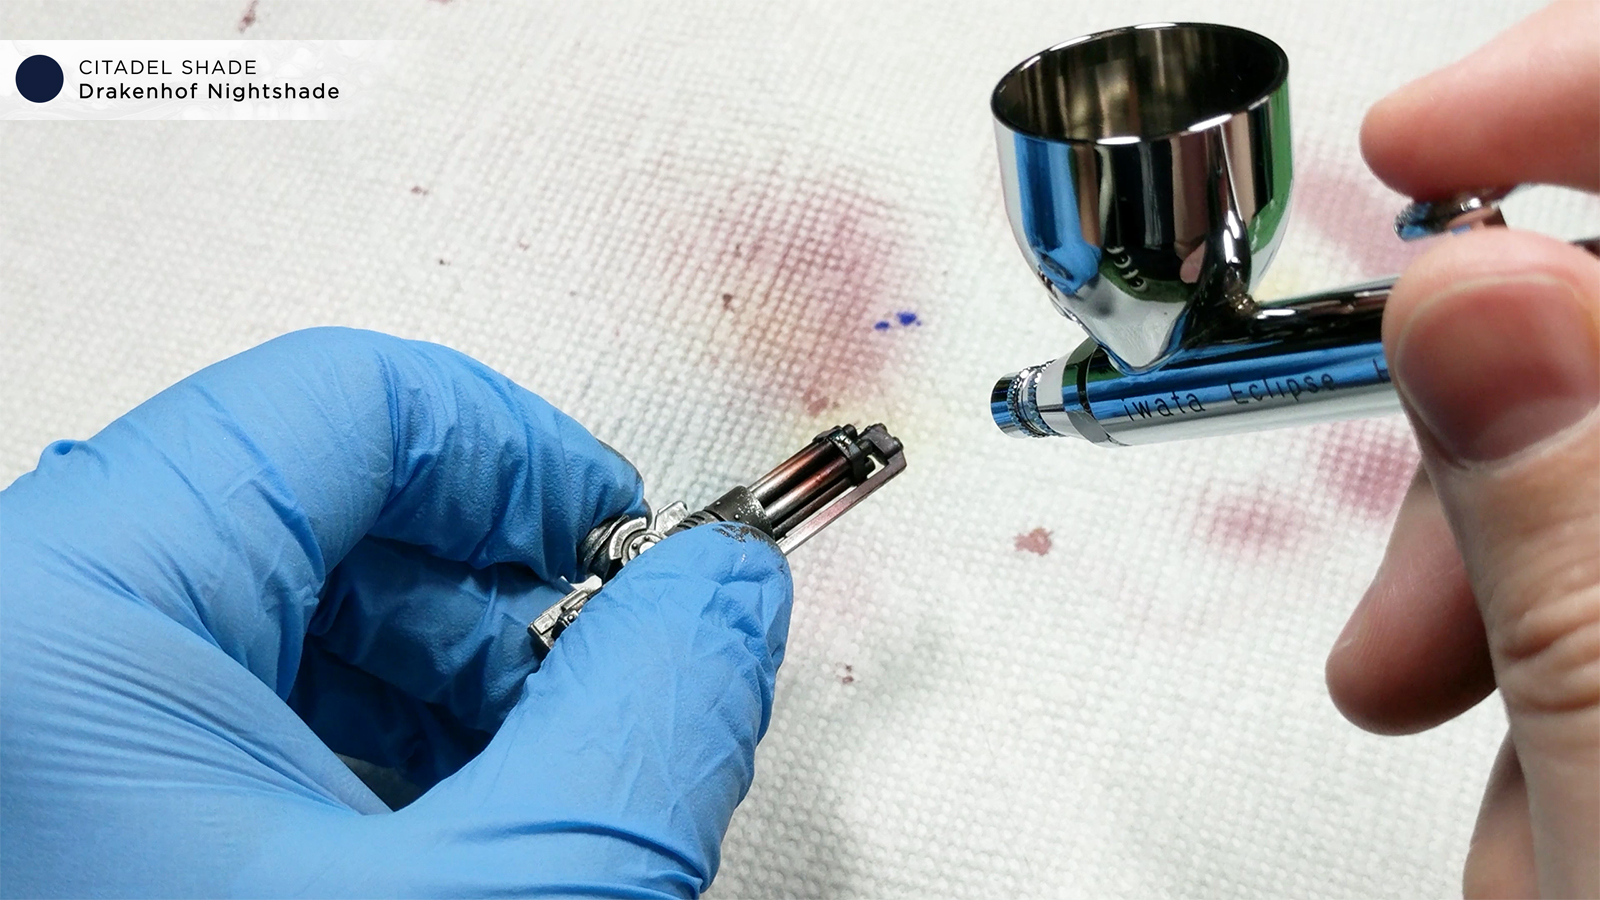
After letting the Red layer dry, you’ll repeat the same process but with the blue shade. This is mainly focused near the tip of the barrel. Make sure to keep a bit of the red and yellow layers showing the farther down the barrel.
Step 4 – Clean Up
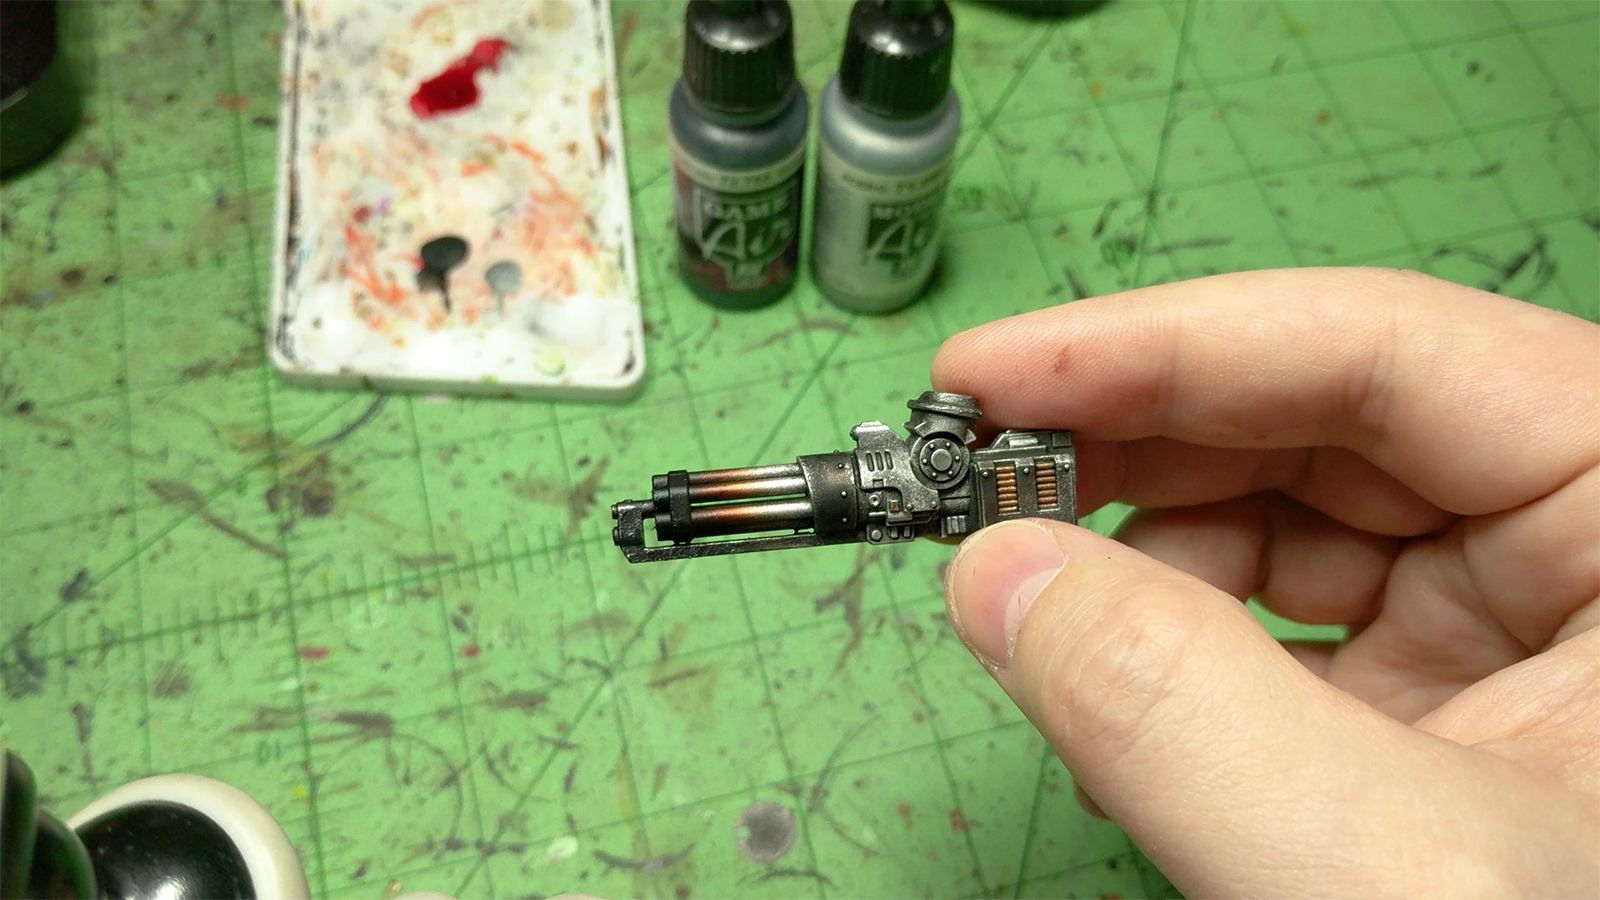
Here’s the finished look on the cannon. I went back with some metallics to clean up any of the overspray from the shades.
Examples
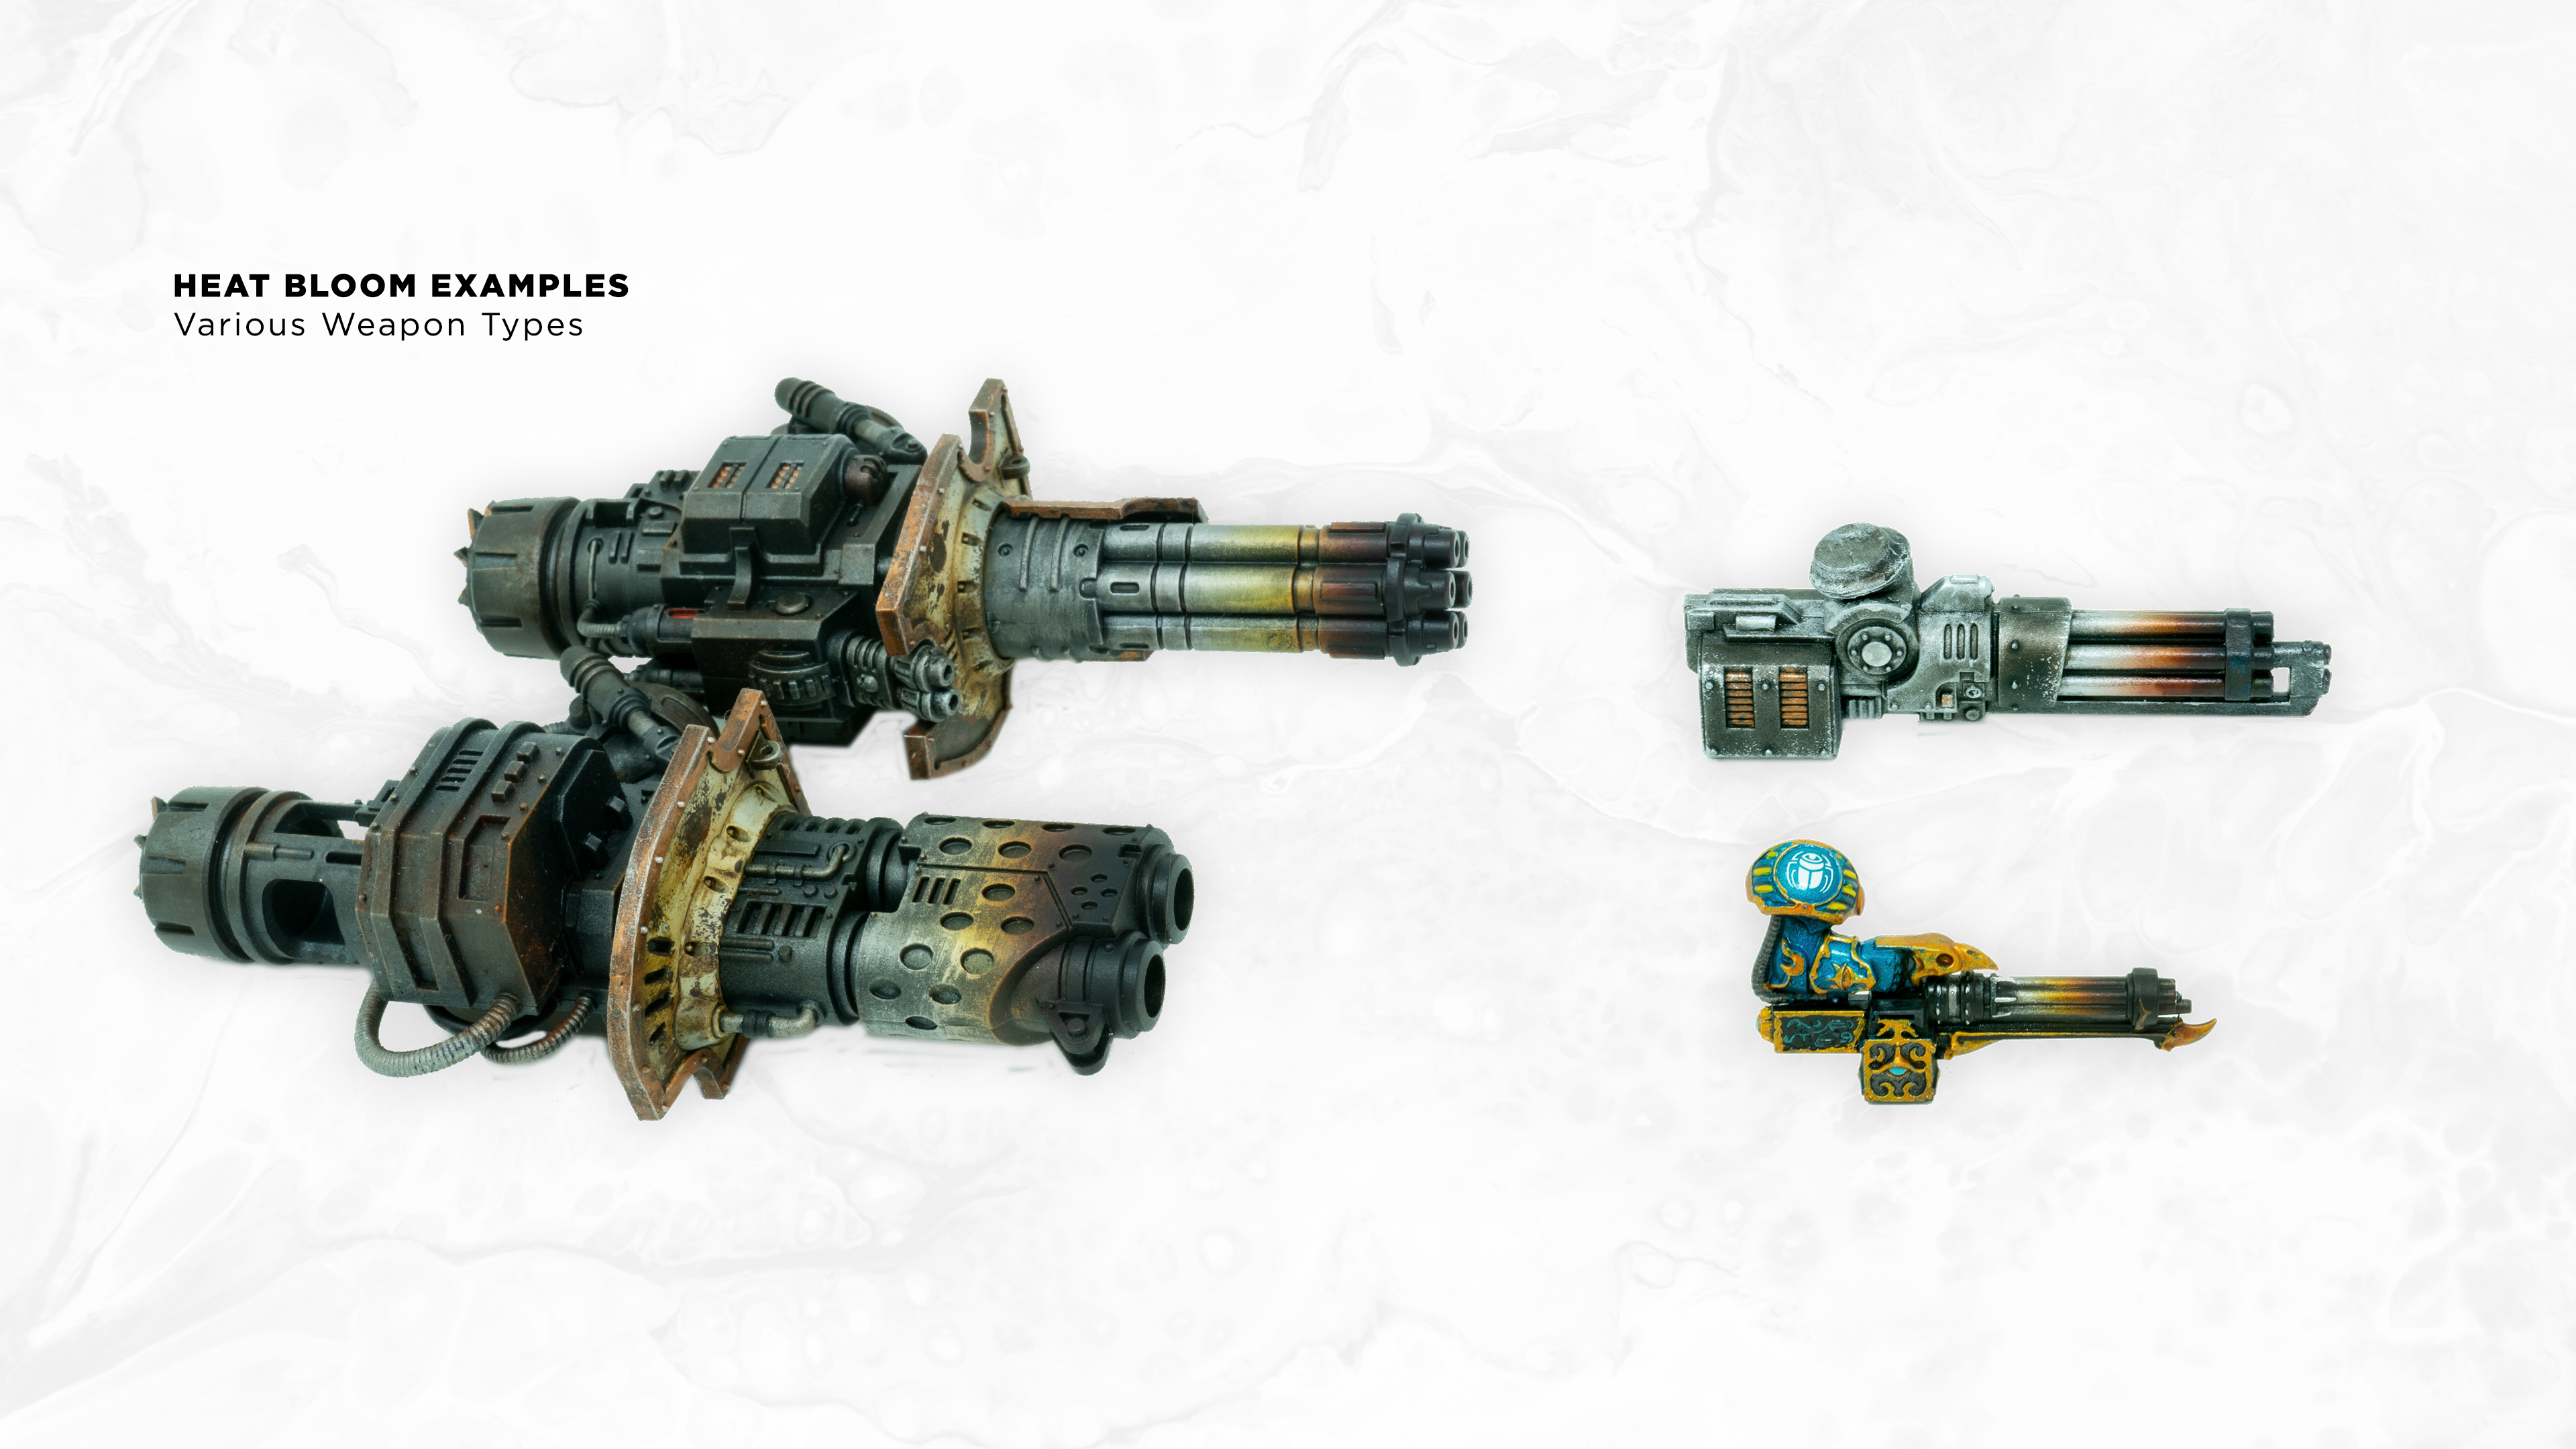
I’ve used this effect on pretty much all my cannons, from Imperial Knights, to Dreadnoughts and Terminators. It scales pretty easily and is a fun and quick effect to really up your painting game.
I’ve also created a 4K video tutorial if you’d rather watch that:
